

To celebrate design, craft, style and the entrepreneurial spirit, Timberland in partnership with ACL set out to highlight the guys that take matters into their own hands, to not only make great things, but to inspire and teach others the skills to do it yourself.
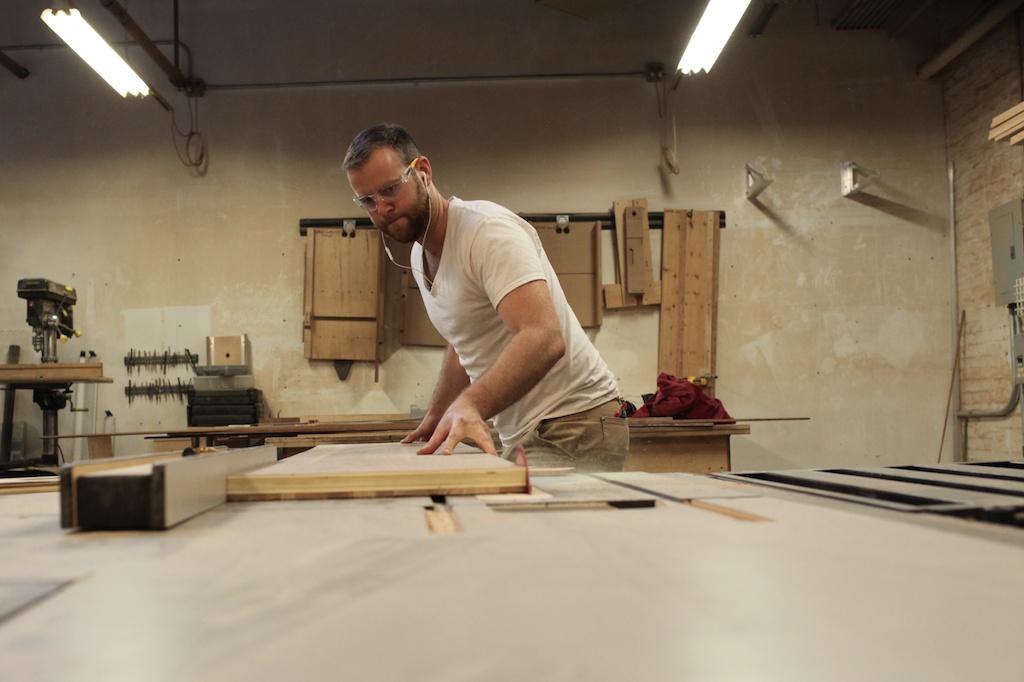
The first time I met Stephen Muscarella from Left to Right Furniture was on a Sunday morning in his Gowanus, Brooklyn workshop. Stephen is one of the resident carpenters in a really interesting communal studio called Makeville. When we met to talk about this project the studio was calm and the stillness allowed an opportunity to speak about Stephen’s approach and how he got started working with his hands. His formal education is in economics and while he was pursuing an advanced degree he was repeatedly drawn to do something more tactical, he wanted to work with his hands. So when the opportunity arose to work under an experienced carpenter he jumped at it.

Most of what Left to Right does is custom, which provides the opportunity to solve problems and at the same time to let the creative process run its course. Stephen told me that luckily his first pieces were commissioned by his brother, so even though he was working his way through the learning curve it was alright. One of the things that Stephen has focused on since the beginning has been to take reclaimed and discarded materials and incorporate them into his furniture. This philosophy is right in line with Timberland and its commitment to incorporating sustainability, style and craftsmanship into its products and retail stores.
The subject of our particular DIY project (which we have documented below) focuses on one of Stephen’s signature designs: the Sailboat bench. This is a project that incorporates reclaimed wood scraps and arranges them in a beautiful and eye-catching style which centers around a sailboat pattern. As an avid sailor, Stephen combines two of his biggest interests; and like most of the pieces which carry the Left to Right name, this Sailboat bench is one of a kind.
More on how Stephen got started as a carpenter and some details on his approach:
My early days as a woodworker were much more akin to that of a DIYer than a craftsman. In my mind, I still haven’t earned the craftsman badge. And I may never earn it at it is more of a mindset than a skillset. I strive for self-reliance and manual competence first and foremost. I prefer well-made, approachable looking furniture – furniture I would not be afraid to fix, modify, or beat up. The DIY ethic embodies that spirit since it is easy to feel connected to and comfortable around things you’ve made yourself.
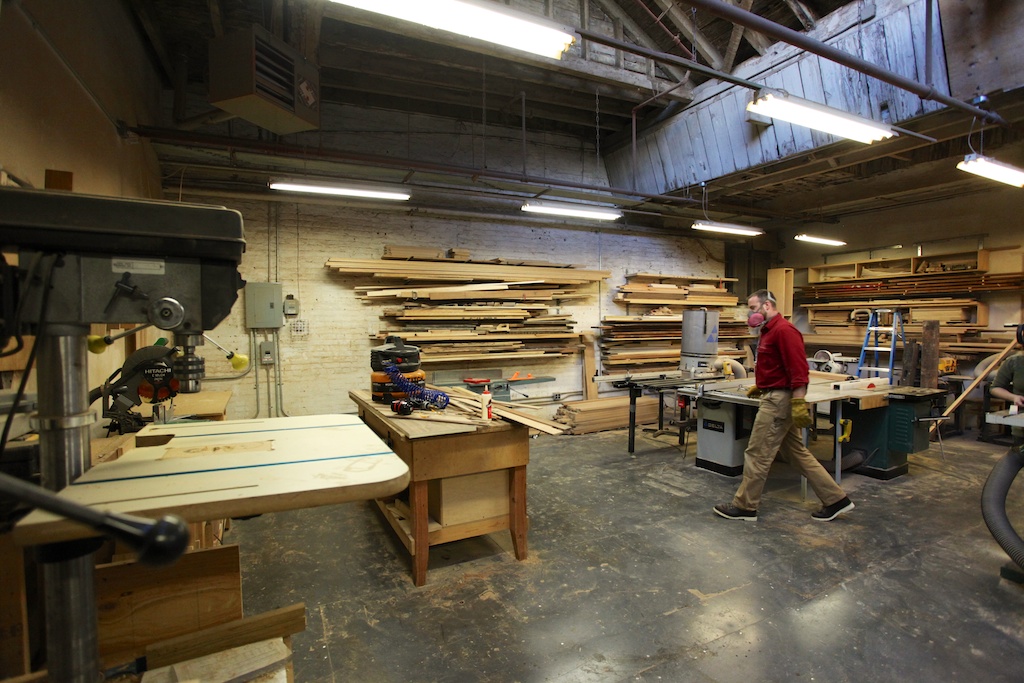
My first professional design and build was the sailboat bench. Inspired by Ariele Alasko’s work and philosophy, I found a bunch of old floorboards in a dumpster and threw them in my car thinking I’d use her technique — attaching reclaimed wood strips to plywood and then bordering the edges. At the time I didn’t really know much about wood movement, so I thought this was a pretty nifty idea. Armed with a pile of scraps, an old piece of plywood, a nail gun, a chop saw, a janky table saw, and various measuring instruments I went to town. Geometrical patterns didn’t speak to me and I didn’t want to do anything boring. So I felt pretty pleased with myself when I discovered that I could make a sailboat out of the scraps. If you are interested in making your own sailboat bench, here’s how you would go about it.
![]()


Stephen wears the Timberland Abington Quarryville Boot.

Materials:
– Scraps or wood you find interesting in fairly uniform thickness – Nice, flat, straight wood for making a border. Or an easier option is to just iron on some edge banding. – Sheet of 3/4″ plywood a little larger than the final dimensions you want – Bradley nails of proper length for your scraps + ply thickness – Glue – if water is likely to get on the surface, use Titebond III or similar
Tools:
– Nail gun – Air compressor – Chop saw – Table Saw – Square – Planer if you want to get fancy – Wet towel
Steps:
1. Cut all scraps and bordering material to 3/8†on table saw. 7/16†if you have a planer that you can mill the wood to 3/8†with. Don’t go under 1/4†in thickness as the nails need some material to grab onto. It’s okay to keep it thicker, too.
2. Cut plywood to proper dimensions + 1/2†or more on all sides. You will be making final cuts to size at the end when all the pieces are glued and nailed on.
3. Choose one long side of the plywood. You will make sure no scraps overhang from the plywood on this side. It will be your straight edge for final cuts on the table saw. See step 10.
4. Select the wood you want to make into your sailboat.
5. Arrange the wood on the plywood until you like the ratios of your hull, mast, boom, jib, and main sail. The only real restraint here is that you want to angle your hull somewhere between perpendicular and 45 degrees to the plywood.
6. Be brave and stop fussing about screwing up.
7. Glue and nail the hull to your decided location. Now you’re committed. Any problems that arise you will solve. Because you’re a bad ass.
8. A few notes on nailing and gluing:
a. First is that you don’t want to nail too close to the edges where a table saw will eventually pass through on the final cuts. Nails + table saw = no bueno. So inset those bad boys. If you still mess this up, it’s ok. A bradley nail presents a pretty minor obstacle to a table saw blade. But the sparks will wake you right up.
b. Nailing pattern. Random nailing will save time and make it easy. But if you want to up the ante, mark out a nailing pattern with pencil before gluing and nailing.
c. Glue dries quickly. Before you spread glue on your wood, make sure you are on the ball and ready to nail it in. Be liberal with the glue. I could go into more detail, but the spirit of DIY is also learning some of the intricacies for yourself.
9. Once the hull, mast, and boom are attached, you just have to fill in the rest. For angle cuts such as those below the hull, take a wide scrap piece and approximate the angle. Test the fit and fine tune the angle of the chop saw until it’s correct. Then either note that angle or make sure no one else uses the saw until you’re done with that section.
10. When the piece is completely covered, you’ll have scraps overhanging 3 sides. Cut off any pieces with more than 6†overhang with a handsaw. Then bring to table saw. Using the good edge, make your long cut. I cut the excess off with one cut and then make another cut for final dimensions – keeping the nail holes about 1†from the edge if I can for aesthetic purposes. Trim the good edge so that the scraps are now flush with the plywood. For the width-wise cuts, set up table saw appropriately for a cross cut. Trim off excess. Then cut to final width. Remember the border will add length and width.
11. Nail and glue border. There are a few tricks, but you can probably figure this part out ok. One technique I use is to clamp a piece of wood under the plywood that extends beyond the edge. This provides a little shelf to rest the border strips on while you nail and glue.
12. I like to fill the nail holes on the border with Plastic Wood. Any egregious cracks can also be filled with this product.
13. Sanding is up to you. 220 grit final smoothness is nice.
14. The finish is up to you.
a. Danish oil for no gloss and to make wood grain detail more noticeable. Not highly protective but who wants that anyway? Worn in is good. Apply with rag. While surface is wet with oil rub with 320 grit wet/dry sandpaper to create a nice, smooth surface. Wipe dry with clean cloth. Two coats is my usual for this particular project.
b. If you want more protection and easier cleaning, I’d go with water-based polyurethane. Raise the grain with a damp cloth, lightly knock off the fuzz with 320. Repeat until cloth no longer creates the fuzz. Let dry and then follow directions on poly bottle.
15. Legs – true DIY style is to get some black pipe and thread it all together. Best bet for a DIYer is to go to Home Depot with a measuring tape and assemble on premises to make sure you get the right dimensions. Hairpinlegs.com is another option. Voila.
![]()


The finished Sailboat bench looking good at ACL HQ.

Jesus.. I never even noticed there was a sailboat IN the bench until the last picture. Zoolander moment.
I have always wanted to work with my hands but without any formal training I’ve never known where to start. There is the thought of taking it up as a hobby but don’t really have any space to practice. Great post and it shows if you have a passion for something and put in the hours then you can do it. Great final product, wasn’t expecting something so abstract.